How to Install PHP on IIS 7 for Window 2008
One of the most popular development platform on the web is PHP. There are many famous and popular applications run on PHP, like Facebook, WordPress, Joomla and many more. While most of these systems are ‘designed’ to be used on a Linux system running the Apache Web Server, you can deploy PHP applications via IIS 7 on your Windows Server 2008 system.
Configuring PHP
For installation of PHP, in order for Windows to run PHP code, the PHP binary files need to be copied to your system. No installation is required, however some configuration must be done in order for it to properly run. The first step is to download the PHP Windows Binaries and extract them (i.e. ‘C:PHP’). For IIS 7, the non thread safe binaries should be used.
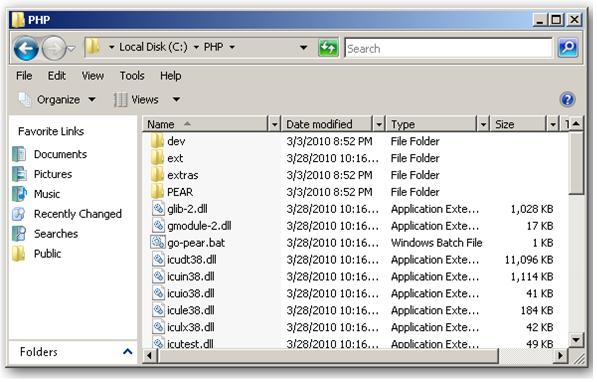
Now you need to Copy the “php.ini-production” file from the extracted files and paste it into the Windows directory. In the Windows directory, you should rename this file to “php.ini”.

You need to open the “php.ini” file in Notepad and configure it as per the requirement. Out of the box, the production configuration we copied is preconfigured for what the PHP Team feels is good for a production server. There are some changes you will need to make to configure PHP for your IIS 7 system:
- ·Remove comment and set the key,cgi.force_redirect = 0
- ·Remove comment the key,fastcgi.impersonate = 1
- ·Remove comment and set the key, extension_dir to the ‘ext’ folder in the path PHP was extracted to (i.e. ‘C:PHPext’).
- ·Set the key,date.timezone to the time zone of your server (the URL on the line above this key lists the accepted values).
At this point, your Windows system can run PHP scripts from the command line using the ‘php.exe’ tool.
Configuring IIS 7 to Run FastCGI
Internet Information Services (IIS) 7 includes the FastCGI framework as part of the installation package. To make sure it is enabled in your IIS 7 installation, you can check the Role Services
https://blog.varianceinfotech.com/wp-content/uploads/2014/01/v3.jpg
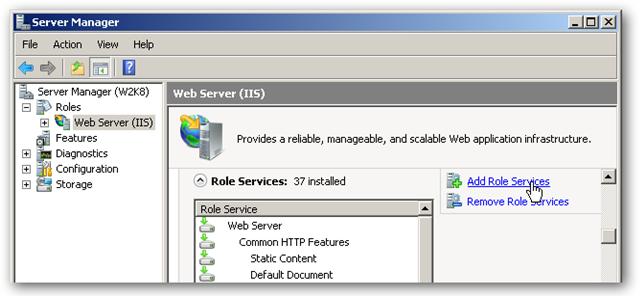
under Server Manager > Roles > Web Server.
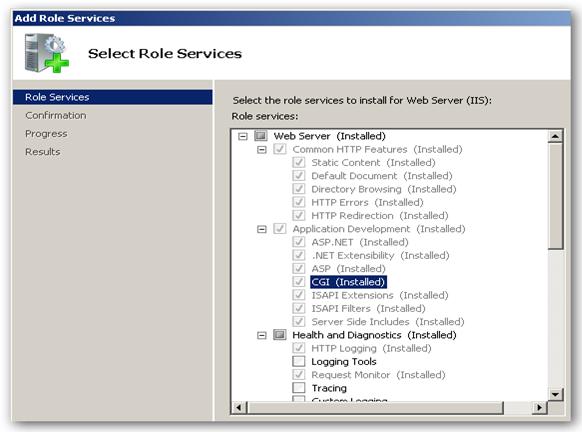
Please make sure that “CGI” option is installed under the “Application Development” section. If it is not, than enable this feature and update your IIS 7 installation.
Once IIS is all set, so you need to install the IIS 7 Administration Pack. If you do not use the “Typical” setup then make sure you have the “FastCGI” option set to install. This package installs the FastCGI configuration interface inside the IIS Manager.

Configuring IIS to Run PHP via FastCGI
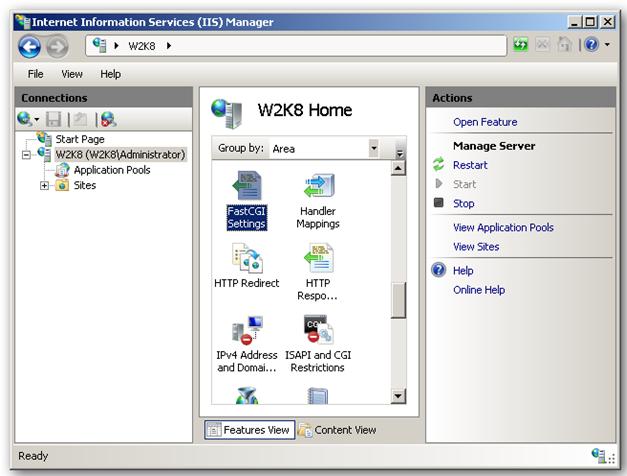
Once IIS 7 is setup with all the required features, we just need to configure it to run PHP. First, we configure FastCGI to work with PHP under the “FastCGI Settings” option (this feature is installed as part of the IIS 7 Administration Pack).
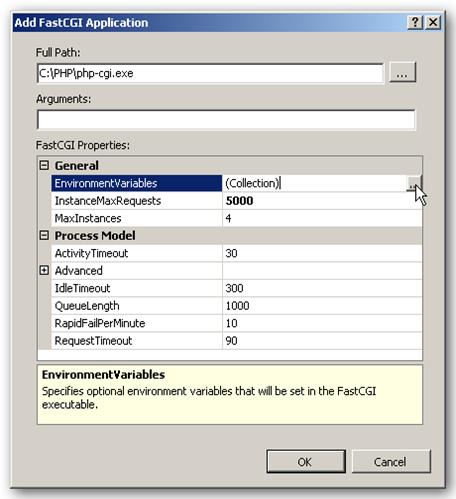
In the FastCGI Settings screen, add an application.

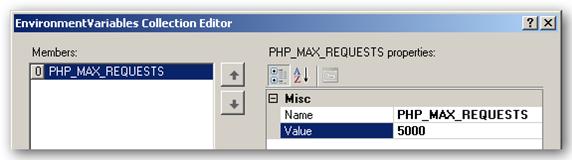
Set the path to the ‘php-cgi.exe’ executable located in the folder where you extracted the PHP Windows binaries. Additionally, change the “InstanceMaxRequests” to a value higher than the default (i.e. 5000). Under the “Environment Variables” setting, click the ellipses button to configure additional options.
Now you need to apply all settings until you get back to the primary IIS Manager screen.
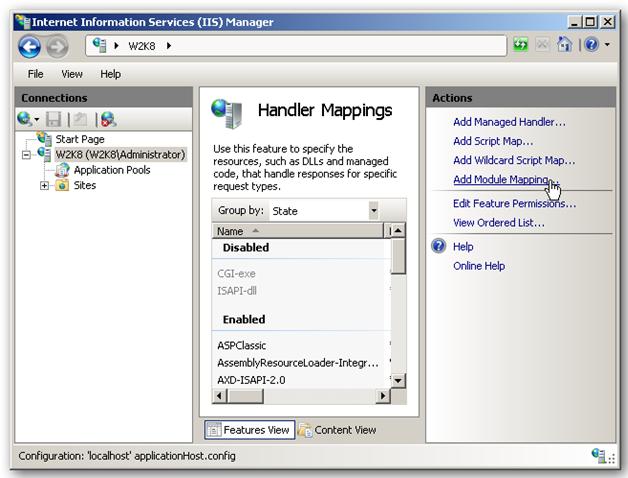
Next, we have to map how PHP scripts are executed by IIS which is configured in “Handler Mappings”.

In case of the Handler Mappings, you need to add a new module mapping.
Now you need to set the module’s request path to PHP files (*.php) with the module interface “FastCgiModule”.
Set the executable to the same file as what was configured in the FastCGI settings above. Assign a friendly name to this mapping, such as PHP, and click Ok.

When you get the confirmation prompt, answer “Yes” to confirm you want PHP to run as a FastCGI application.

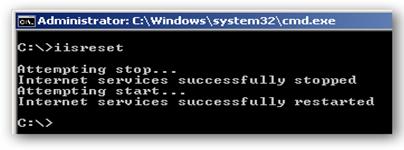
Now you need to apply all your changes, close and restart IIS to make sure the new settings take effect.
So once this is done, there is a Microsoft hotfix available (a link is available in the links section) which addresses some issues with PHP when running under IIS 7. These should be installed on your web server to ensure PHP functions properly through FastCGI.
Now Testing PHP:
At this point, your server is ready to go, but just to be sure we can confirm your PHP setup through IIS pretty easily. Create a text file in the directory ‘C:Inetpubwwwroot’ named ‘phpinfo.php’ which simply contains the line:
<?php phpinfo(); ?>
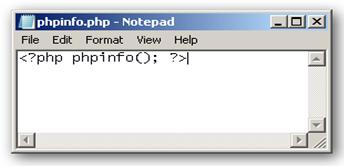
Finally, browse to the address: ‘https://localhost/phpinfo.php’ on your server and you should see the PHP information page. If the page loads successfully, PHP is now up and running on your machine.

Do You Need more information ?
OR call us on +1 630 861 8263, Alternately you can request for information by filling up Contact Us
2 thoughts on “Configuring IIS 7 to Run FastCGI”